How to protect your bicycle wheels from punctures
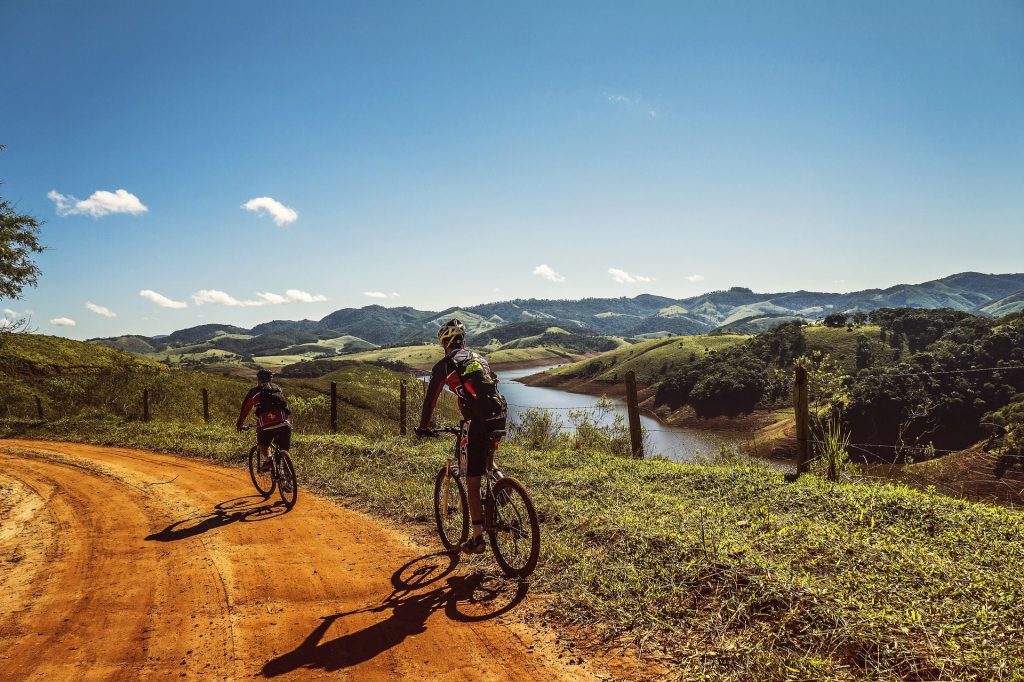
Do you often have a punctured bicycle tube? You can’t imagine a ride without nerves and pulling out spikes? I understand you very well, believe me! I faced this problem as soon as I bought my first adult bike and went for a ride in the city park. That ride turned into constant tire inflation and taping at all the service stations I encountered. And such a condition continued for many more years.
The reason for this, of course, is the area where I live. It is the endless steppes of Zaporozhye, where thorns from acacia, yakorza (the main pest, by the way) and various weeds are everywhere. For example, after driving along the asphalted road for 10 kilometers, I punctured the wheel 7 times. I extracted about 50 spikes from the tread, which did not reach the camera with the help of tweezers. And this is the norm for this kind of terrain. What to say about traveling cross-country, even somewhere in the steppes of Khortytsia or Zaporozhye plains?
My story
At first, I solved this problem simply: I carried a repair kit and pump with me not only on a bike trip, but even when I went to the nearest store. Not to say that this made my backpack impossible to carry, not at all. A dozen patches and glue, plus my favorite Soviet-made hand pump (it’s lightweight, relatively small and really inflates the tire rather than making you idly jerk your arms). However, each puncture required stopping, removing the tire, removing the tube, finding the puncture, applying the patch, waiting for the glue to dry, refilling the tube and tire, pumping air into the wheel and putting it back on…. This took a lot of time and it was not a given that all punctures could be fixed at once. After a couple of minutes it could turn out that the tire was flat again.
In search of a solution, I went to cycling forums. That’s where I learned that it’s not my bikes that are bad (the second one, by the way, I bought especially for traveling), but I don’t know how to prepare them. Everyone catches spikes. In our region this problem is solved by who can, in other, already a little more northern – thorns are not so often and therefore they get such surprises just in the middle of a trip, in some forest. A lot of arguments and forum battles did not stop and made it clear that no one has come up with a single way to solve the problem.
Then I started to take an interest not in Ukrainian and Russian forums, but in Australian forums. After all, such a problem should have been much more acute there (remember at least the stories of a Russian girl who traveled around Australia on a bicycle alone). Below I’ll cover the ones that are reviewed by users and bicycle tourists, talk about their effectiveness and which method I chose for myself personally.
Anti-puncture tires and tires
The main points suggested by cycling enthusiasts and residents of thorn-saturated areas boil down to the purchase of quality rubber. Of course, these are the main points that cannot be circumvented and it is pointless to argue with it. This is definitely the most expensive way, but you can’t give up on it.
Quality tires, unlike the “stock”, which are put on the basic equipment of the average bicycle (I have already told about the correct choice of bike in a separate article), have a different structure and are designed specifically to protect against accidental punctures prickles, glass, small nails and the like.
If we talk about the price of such products, it is an order of magnitude higher than we are used to buying spare parts. So, the average quality tire from the world German brand Schwalbe on my bike with a diameter of 29 inches will cost from 20 dollars per piece, it is more or less light (about 700 grams) and with Kevlar or steel cord to protect against damage. Cams from this manufacturer are another about 10 dollars apiece.
Expensive brands ask for $100 – $140 for one tire and about $40 for one tube. They use special technologies that protect you as much as possible from unexpected situations during bicycle travel.
As you understand, not every traveler is ready to spend $400 just for wheels. Therefore, I will say the following about the use of this advice: if you are planning a long trip, buy tires and cameras of medium price range, all together will cost you up to 100 dollars. That said, if all of your trips are limited to small rides and weekend biking trips, you shouldn’t spend too much. Entry-level tires and cameras will cost you up to 50 dollars and fully meet your needs. All you need to do is prepare them using the following method.
Anti-puncture gel
I once heard about such a method before and tried to implement it, but crowds of knowledgeable theorists on various forums quickly talked me out of it. They gave me a bunch of different reasons and arguments why I shouldn’t use anti-puncture in bike chambers. So I forgot about such a solution for many years, running everywhere with patches.
And then one day, when Marina and I came to rent her bike for a trip to the Natal quarry and while talking to an employee, I saw a bottle of anti-puncture on her desk. Asked if they use it and got the answer: all of our bikes already have it poured in them.
On the way to the quarry the tire broke on the thorns. I was already upset, thinking that we would repeat the story from Belovezhskaya Pushcha, which we still remember with laughter and tears. But knowing that there was an anti-puncture inside, I decided to put it to the test. I inflated the tire and was surprised to find that it was no longer flat!
Then I bought sealant for my “iron horse” as well. It should be noted here that the sold bicycle anti-punctures and anti-puncture camera turned out to be a complete crap. So I bought an ordinary automobile gel Hi-Gear. It cost me about 5 dollars for a 240 ml bottle, which was enough to fill both 29-inch cameras.
Then, taking the nipple out of the tube (as there was no special tool, I did it with tweezers), I poured in about the same amount of thick yellow gel. Then screwed the nipple back in, pumped up the wheels. I haven’t taped a puncture on my cam since!
The gel works on the principle that as soon as a puncture is formed, the sealant begins to penetrate with air, which in contact with air and under pressure instantly hardens, sealing the puncture. Because of this, I can even fearlessly remove the barbs with my fingers. The worst that will happen is that you’ll need to inflate the tire if there are a lot of punctures and the gel doesn’t have time to cope immediately. However, after 2 – 3 seconds everything is already “gripped”.
The disadvantages of this method include the limited life of the gel (depending on the frequency of punctures, it can serve 1 – 2 seasons), after which you will need to pour a new one into a new chamber. Considering that under the gel I use the simplest, for 7 dollars a pair, there are no problems. On the plus side, it makes it a little more difficult to start a bike ride, as the gel has a very thick consistency and it takes time for it to spread on the inside surface. However, this problem is hardly felt in my opinion and disappears after the first 100 meters of riding.
If I’m planning a long and challenging bike trip, my choice is definitely a combination of the two: I’ll put mid-range tires and tubes aimed at puncture protection, and pour anti-puncture compound inside. It’s a killer combination!
Anti-puncture tape
In addition, on the Internet I met a mention of so-called anti-puncture tapes. The principle of their action is simple and uncomplicated – they are simply attached on an adhesive basis to the inside of the tires, protecting the camera from small punctures. However, the manufacturer himself states that they are unlikely to help from large punctures. And in case you do catch them, you will definitely have to glue up the camera.
At the same time, I would not use these tapes as even additional protection. Apparently, they wear out the camera and tire by friction very quickly, which is very bad, especially if you are thinking of buying a mid to high end camera.
The effectiveness of such tapes is doubtful, and in the southern latitudes of the CIS countries and at all equal to zero, because those thorns that fall in our country easily pierce and the additional layer of protection in the form of tape.
I want to say this, though. I personally have not used this method, and therefore I have no right to say with certainty that they are so bad. After all, the forums have told me a lot of nasty things about antiprocol gel too. But certainly what it is good to use it for (which I thought of only at the time of writing this article) is when making winter, studded tires on a bike. For how I do it and why, check out the YouTube channel, and then the article will follow.
Conclusions
So we can see that wherever you ride, there is a risk of hitting thorns, nails or glass, small stones, etc., which will puncture the tire and spoil the ride. You can avoid this (well, or at least reduce the risk) through a variety of ways. The most convenient, in my subjective opinion, is a gel or gel with a protective tape, and in case of preparation for a long trip – already in combination with quality components.
For trips to places like Australia, you can even make a “monster” out of an expensive tire, a quality tube, protective tape and gel. But you will still need to take the repair kit with you.



Leave a Reply
Want to join the discussion?Feel free to contribute!